

Stewarding the holistic health of a community orchard
In the past I’ve talked to quite a few orchardists and agroforestry practitioners, especially in the series on Reforestation and Agroforestry at the end of last season, but I was […]

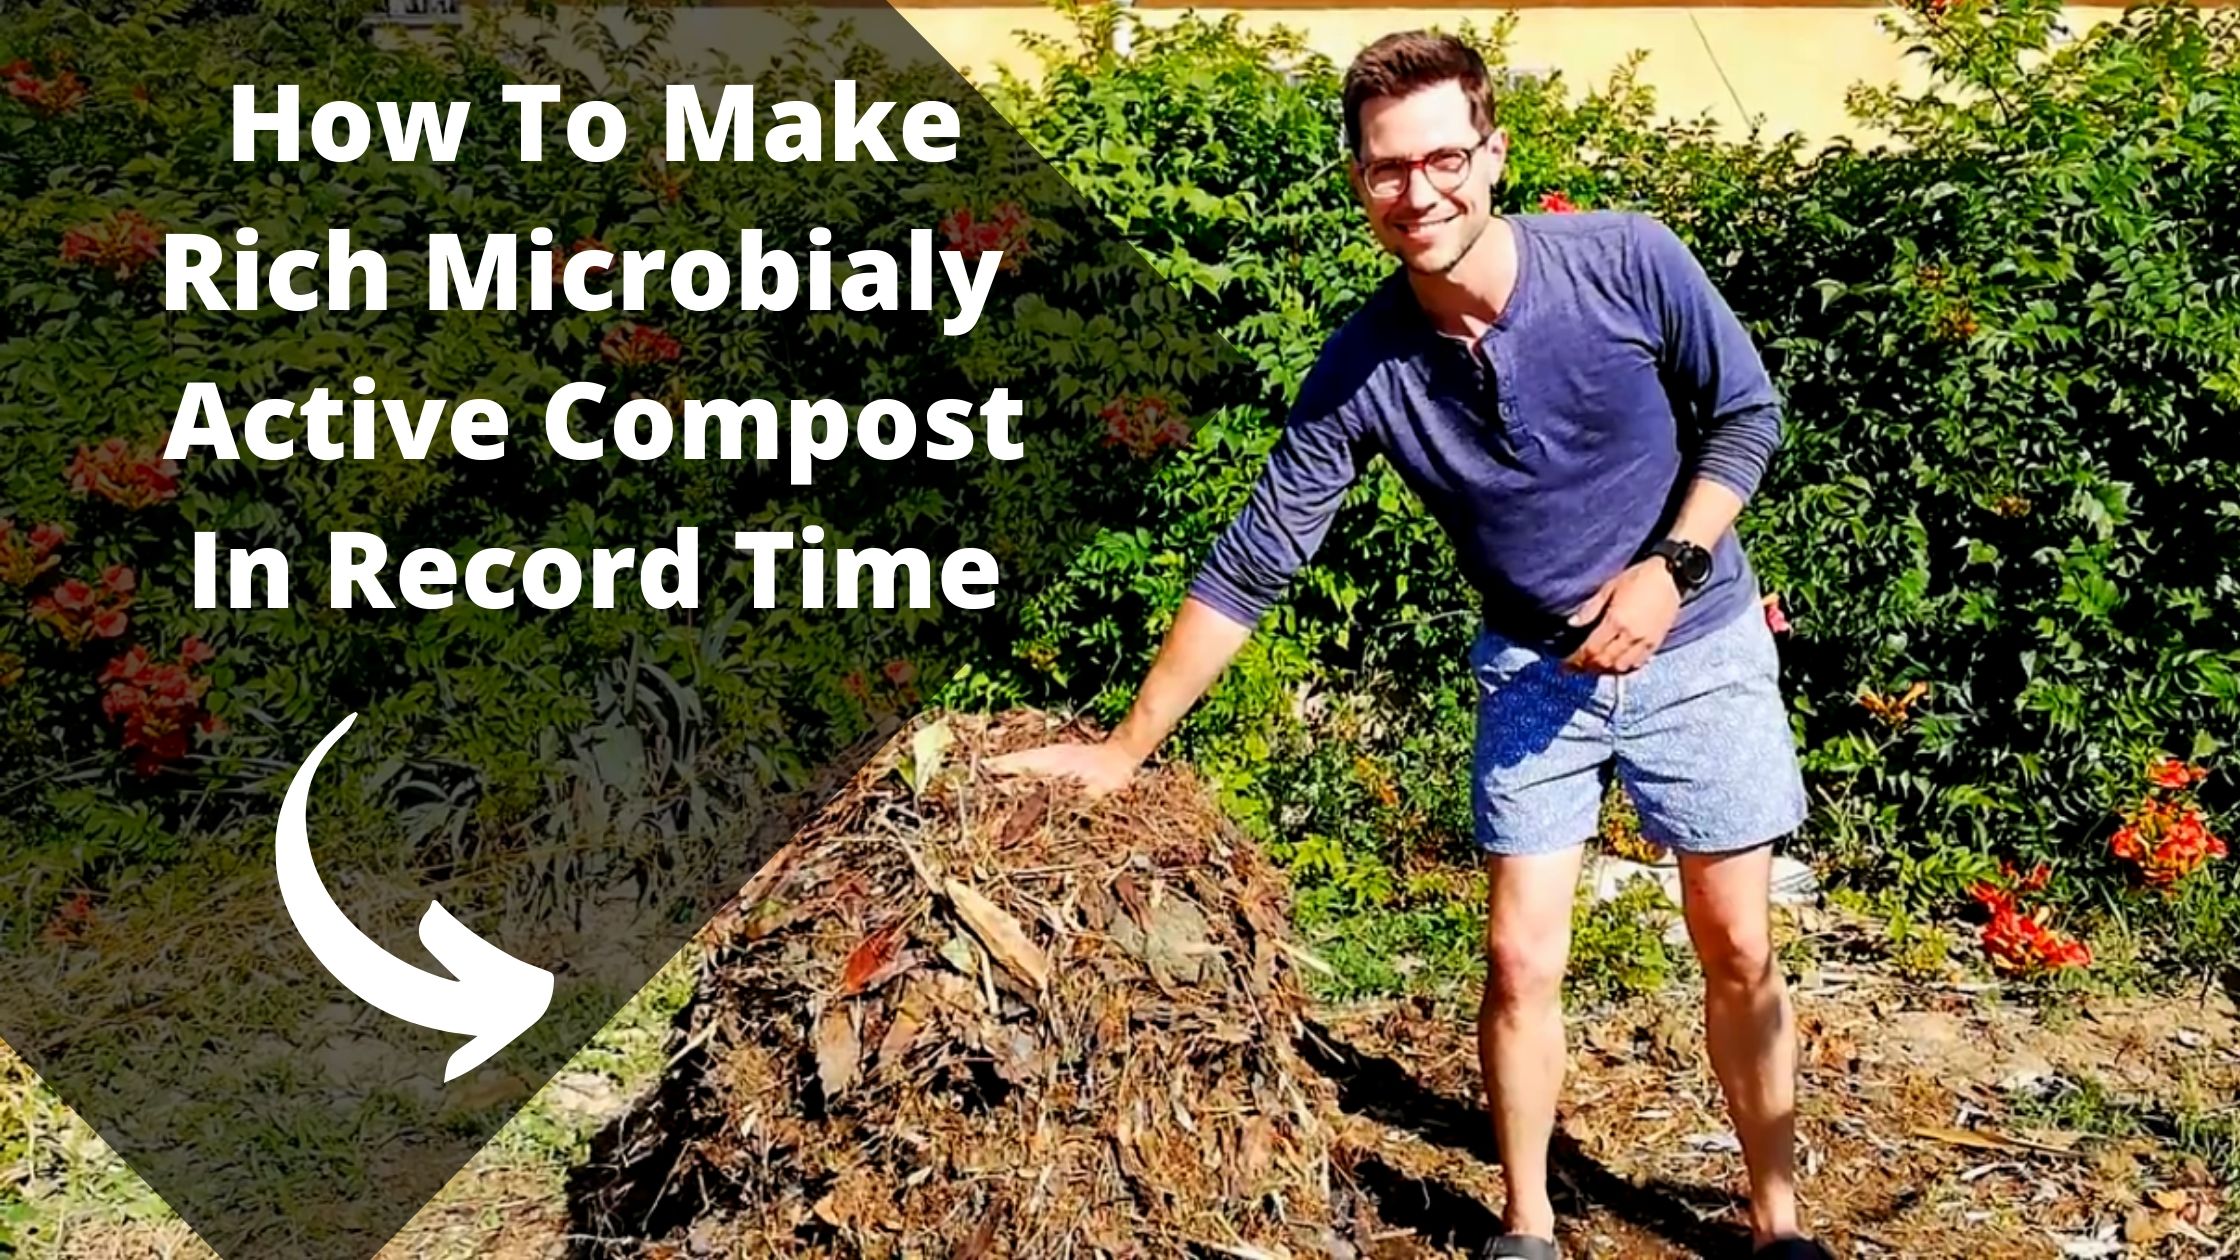
Whether you already have experience making your own compost or not, most methods take months before your have a good finished product. Let’s explore my favorite way to make rich mature compost at home without having to wait a long time. In order to speed up the process, let’s break down the steps of “hot” composting.
What is compost and how is it made?
There’s so much information on the web about compost and all of its benefits so in this article I’m going to break down the most important information and show you the simple steps that you can use to make rich compost in record time.
To start from the beginning, compost is simply decomposed organic material and it nature’s way of recycling organic material within living systems.
Compost is the end product of bacterial, fungal, and insect life that consumes the plant bodies and exudes the processes material and gasses of decomposition.
Through this process the nutrients in the organic matter break down into a form that is more water soluble and can be absorbed by plants once more.
The difference between compost and fertilizer then is that fertilizer feeds plants while compost feeds the soil food web which then feeds the plants. Compost is healthy for all the life in the soil.
Composting is simple to do and a great way to reuse your food scraps and yard waste (which together contribute almost 30% of our landfill waste). Let’s take a look at how we can accelerate the process.
Food scraps, yard waste and other organic material makes up nearly 30% of all landfill waste.
How is hot compost different from regular compost?
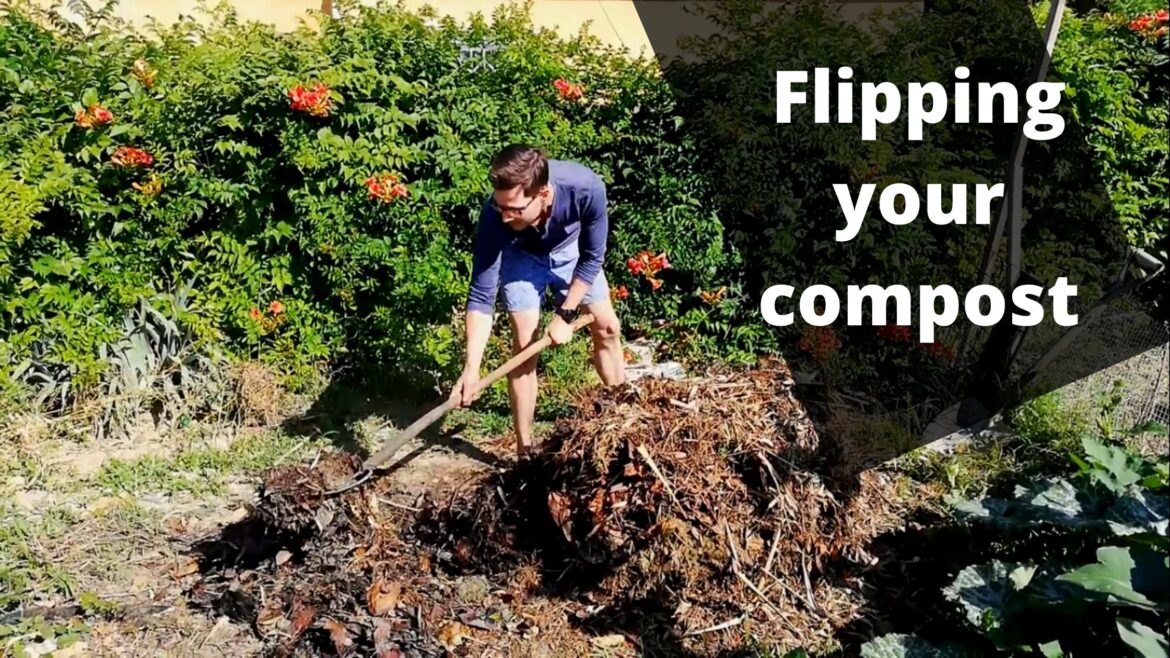
Hot composting is a way of managing the bacterial activity to help it along by adding more moisture and giving it lots of air by flipping the pile regularly. This speeds up the process of decomposition and the resulting compost is still essentially the same as through slower “cold” composting methods.
One of the important differences is that by bringing the pile up to a higher temperature nearly al of the pathogens and weed seeds are killed. This makes it less likely that plant diseases or a flush of weeds will return to your garden when you apply the compost.
How to make hot compost
All you need to get started are…
Instructions
Before we get to work, we need and understanding of carbon and nitrogen materials.
Carbon rich materials, for the most part, are all your dry dead organic things like straw, leaf litter, hay, wood chips (those these are better for different types of compost that this one), dry pine needles, dry grass clippings, etc.
Nitrogen rich materials, in general, are your green and still “wet” materials like fresh leaves and yard waste that are still green, manure, kitchen scraps, fresh grass clippings, and more.
Though you don’t need to be super precise with your measuring, you want about twice or three times as much “carbon” material as “nitrogen” material for the most bioactive and fastest compost.
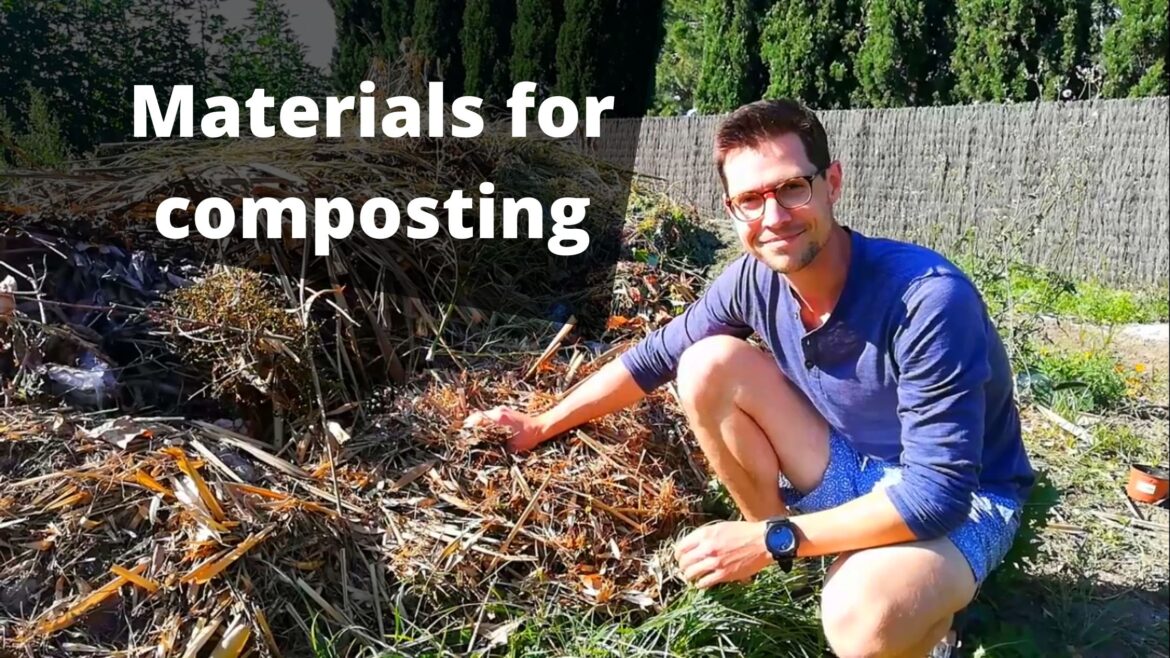
Materials you can compost in this way
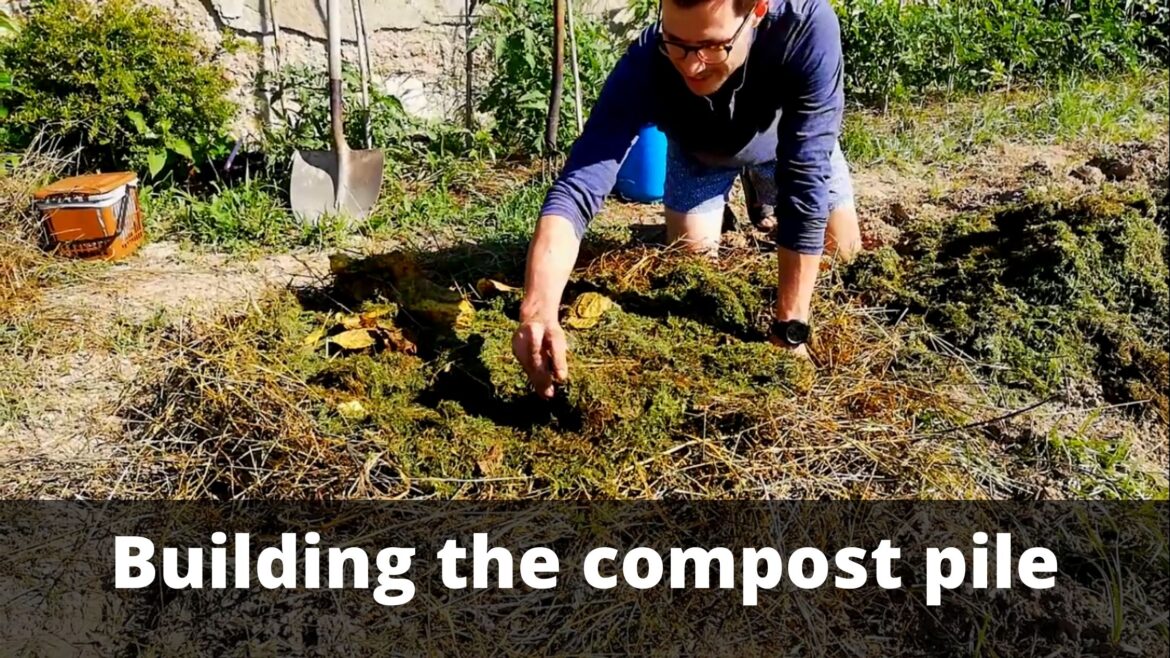
With that explained, let’s make a compost pile.
How to tell when it’s done
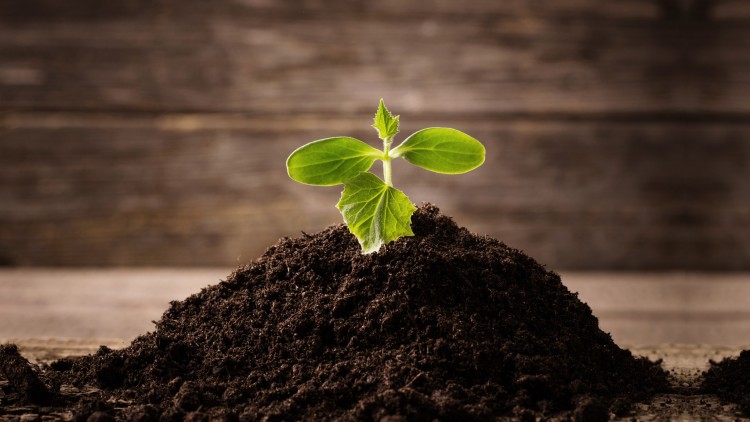
When your compost is done decomposing it should be entirely unrecognizable from the original material it came from.
You should see very little distinguishable plant matter and in general the compost should look dark and crumbly and smell earthy and not sour or rotting. It also shouldn’t be hot anymore.
If any of those other factors or present, it just needs more time. Be patient. These are natural processes and accelerating them down to 3 weeks to a month is already way faster than through other methods which usually take a few months to half a year or more.
Benefits of hot compost
There are so many benefits to applying compost to your garden, around your fruit trees and generally to areas where you want to improve your soil.
First, it helps to feed the whole soil food web. The microbes, fungi, and insects that live below the soil surface perform many essential ecosystem services, not the least of which is making nutrients and minerals available to the plants you’re hoping to care for.
Compost also has an incredible ability to retain moisture. Think of it as a biological sponge. By holding on to water in its rich organic material, compost can help to reduce the need for irrigation which is especially important in hot and dry climates like where I live in Spain.
Making compost at home is also an important way to reduce your trash that goes to landfill and instead convert it into a resource for your environment. You don’t need much space at all. There are many composting options for patios, apartments, and terraces.
Troubleshooting the process
If your compost smells sour or like it’s still rotting then it hasn’t finished breaking down. The same if it’s still hot or if you notice a lot of plant matter like leaves or straw in the mix.
If you still have twigs or other harder materials that’s not a problem. Those materials take longer to break down and simply won’t become compost in three or four weeks. If there’s a lot of them, you might want to fish them out, but if there’s only a few, I just leave them in.
Want to learn more about building healthy soil on a large scale through regenerative farm management? Check out the Regenerative Agriculture series from the Abundant Edge podcast
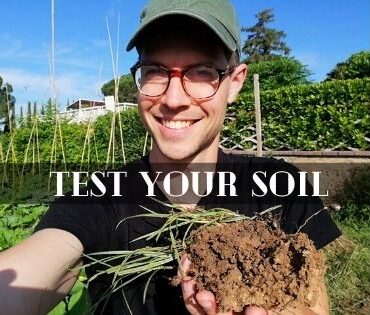
Are you not even sure if your soil is in need of compost, or if it needs other amendments too? Check out our soil testing article for three easy and free ways to learn essential information about the structure of your soil before you get started.
If you’ve tried this or other composting methods and would like to share your lessons and success, head over to our regenerative skills facebook group to connect with our growing community of learners and practitioners with new skills being published every week.
If you’d like to receive new regenerative skills to learn each Monday to get your week started off right, sign up below.
In the past I’ve talked to quite a few orchardists and agroforestry practitioners, especially in the series on Reforestation and Agroforestry at the end of last season, but I was […]
Post comments
This post currently has no comments.