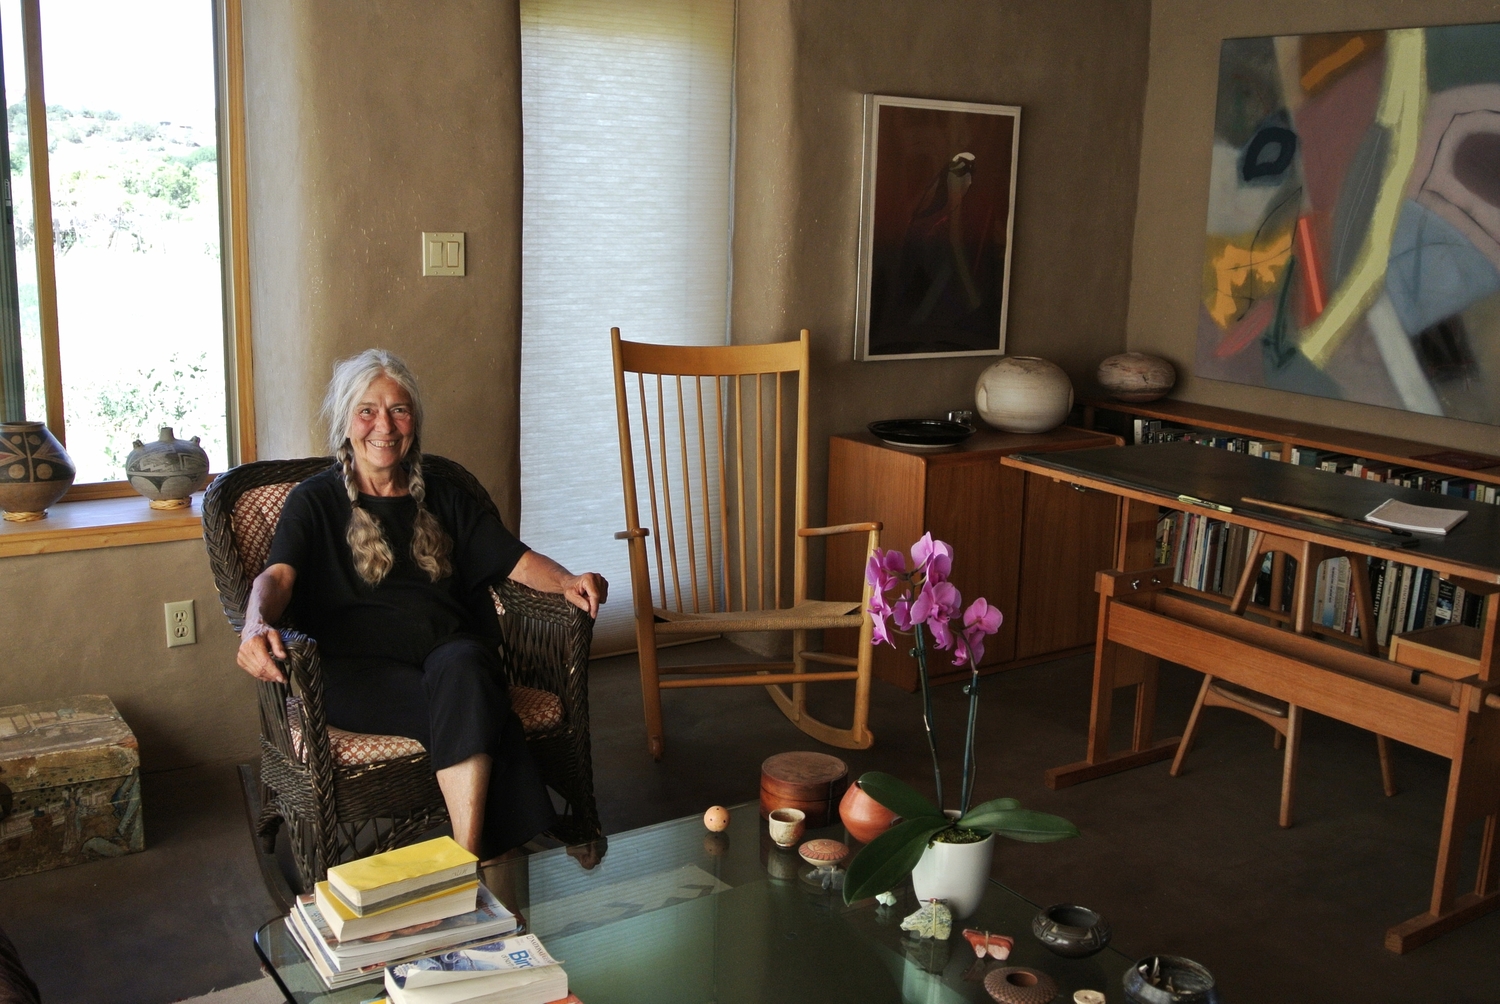
One week before this interview Carole Crews introduced me to a friend of hers she thought I’d be interested to meet. We met Jan Afton on a tempestuous afternoon as the three o’clock thunderstorms started to roll in. she invited us into her small adobe home which looked like a feature in “Dwell” magazine. Even more impressive, as it turned out, Jan had built almost the entire structure, from foundation to roof, with her own hands. Immediately I was awash with questions. Though we only had a limited time to visit that day, I asked Jan if she would indulge me some further inquiry and we scheduled an interview for Sunday the following weekend.
On Sunday July 21st I had the privilege to sit down with this incredible woman to hear her thoughts on the process of building her own home.
Jan Afton was born in Denver, Colorado where she grew up and later got her undergraduate degree in fine arts at Colorado College. She went on to earn her master’s in architecture at the University of New Mexico Albuquerque and got her architectural license in Washington State. There she worked on a contract basis in Seattle and later on Bainbridge Island designing small residential homes. She moved to Talpa, NM when she retired, and that’s where this story begins.
Jan moved to back to New Mexico with the dream of designing her own home and rented an apartment in Taos for nine months to be sure she liked the location and the climate. At the end of that time she began looking for land and settled on a plot in nearby Talpa where she set up a yurt and immediately began making adobe bricks.
With her background in architecture, she always knew she would design the house herself, but the decision to build it with her own hands came with the 2008 stock market crash. “I had money, but it was all in the market,”she told me with a laugh, “so I started researching what it would take to build everything myself.” Already in her sixties, Jan got to work, not only building adobes, but going as far as to take, and pass, the required tests to become a permitted electrician and plumber on her project.
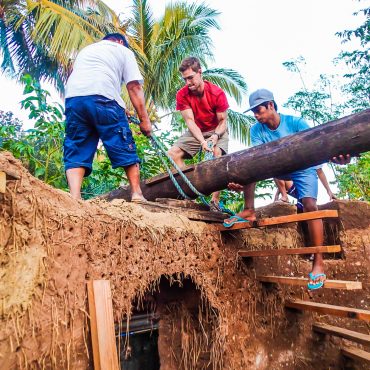
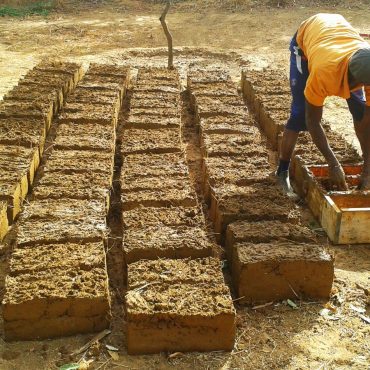
Some of Jan’s friends helping to make earthen bricks in the “Cinva Ram” Adobe walls growing straight and plumb Friends help to haul the vigas above the walls to support the roof
The layers of sheeting being installed above the vigas The inside of the house before the roofing and finishes
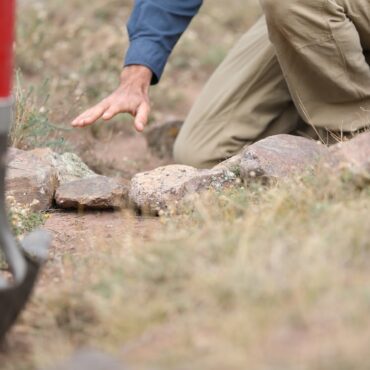
Beginning with the foundation, Jan dug a 2 ft. trench around the perimeter of the floor plan and filled it with gravel. Next, she made the forms for a concrete bond beam atop the gravel and laid two #4 rods of rebar in the frame. She hired a professional to deliver and pour the concrete only after she found that it was cheaper to hire out the job than to do it herself, but still, she and and a few of her friends helped spread and level the concrete pour. Next came the massive task of building the adobe walls.
Cross section of the wall plans
Jan began with a rented cinva ram, but when the person she rented it from needed his equipment back, she was fortunately able to find another of the obscure machines online, and went straight back to production. Each brick was mixed with subsoil and clay from her land and manually pressed in the ram. In order to abide by the local building code which requires insulation on all residential adobe walls, Jan surrounded her home with a double wall connected every 2ft. with welded wire mesh and separated by a fiberglass batton (R19) in between. At the top of the wall, as per code requirement, she built a wooden bond beam, the same thickness as the walls, which also served as lintels for the doors and windows on the exterior.
Then came the roof. Above the bond beam she laid 18 inch diameter vigas (round support beams), which she peeled by hand with a draw knife. With the vigas for support, Jan installed a layer of resawn 2x6s under a sheathing of 5in. rigid foam insulation (R40). As weather proofing, a layer of single ply attached with double sided adhesive keeps rain and snow from intruding on her comfort, and is held down (for now) by some concrete blocks and other ballasts.
“The earthen floor was a huge job” she confided, when asked about the smooth textured surface below us. Eight inches deep, the floor consists of 4” of gravel covered with old tarps and other disposable fabrics, 2” of crusher fines, 2” of a base floor (½ sand ½ clay soil from the site), and the ½ inch finish layer (½ plaster sand, ½ clay soil from the site) topped with a slip coat made of clay soil and “pilar” sand. The whole floor was then sealed with a mixture of linseed oil and turpentine which took eight weeks to dry.
“Most of the things I learned from building the first structure,” she admitted, “were things about the finishes. The first building had a terrible plaster mix with integrated asphalt and the recipe advised on three coats. Mostly finish work and plaster mixes were the things I changed [on the main building].”
“Its very easy to build a house,” Jan insists, “just have realistic expectations and know that it takes time.” the larger structure took about four years to finish but she made it clear that she didn’t work on the buildings continuously, taking off months at a time for winter and the rainy seasons, or whenever else she felt like it. “you could build this house a whole lot quicker.” she said, adamantly.”I just did it at my own pace.”
Both structures together cost between $50-60k and she claims that was only possible because she used a lot of recycled and salvaged materials. “The traditional ways of building, anywhere in the world, are the most expensive to contract out, and the cheapest to build yourself.” she advised.
“If I had to choose one favorite thing I guess it’d have to be the plaster.” She told me, referring to the soft grey walls in flat expanses surrounding us, accented with speckles of chopped straw. “oh, and the floor.” she added.
Together the finishing touches give a soft feel to a building of sharp flat walls and furniture, and evoke the soil beneath us from which it’s all made.
Shelter is at the core of human development, and our ability to survive. The variety and adaptability of our structures have determined where humans can live, and how we continue […]


Post comments
This post currently has no comments.